|
I know what you're thinking... Another holo powder review??? Indeed, except I really want to share my full experience with this holo powder, along with some tips and tricks, in case any of you are out there trying it for the first time, so maybe I can help you skip some errors. How 'bout dat? (LOL) 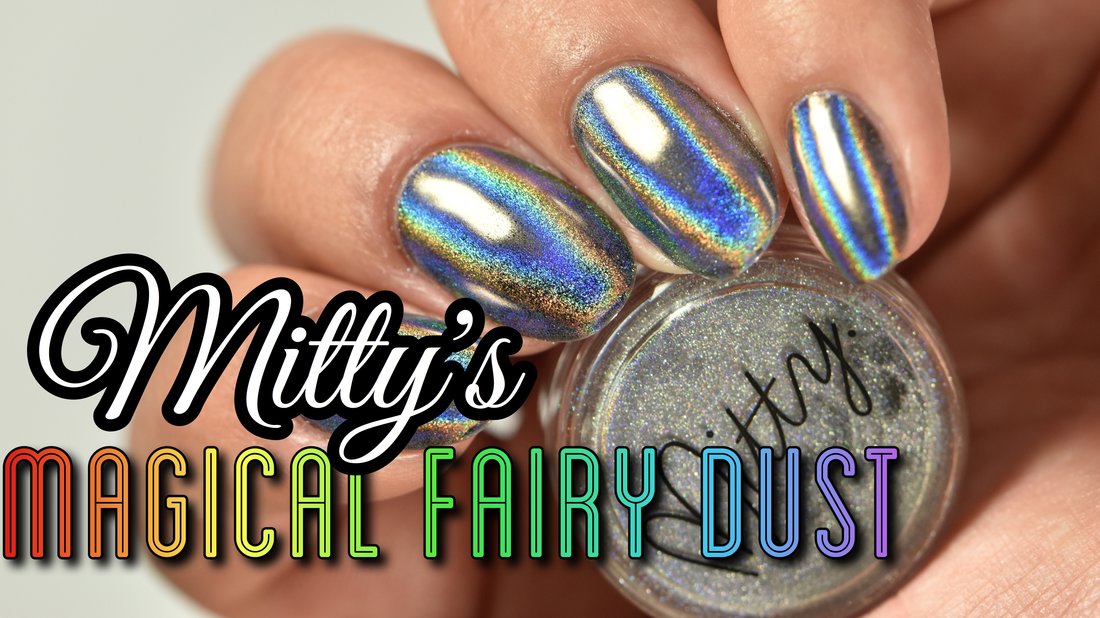 I feel a little late to the game with holo powder, or any kind of powder really. I feel the same as Jessie K. about it. At first it was everywhere and I really didn't care for it, but now I am super curious and #Iwantallthepowders. Today I am sharing with you my experience with Mitty's holo powder, "Magical Fairy Dust," which was sent to me for review, and let me tell you... It's STUNNING!!! I don't know why I hadn't dabbled into this product in the recent past. The linear holo is so strong! It's visible, even in low light. Application was such a breeze, once I got the hang of it. The powder is ultra fine so it lays nice and smooth. There weren't any bald areas or patches noted to me while wearing the powder, although it may seem like it in very rare angles in my video above. I believe that is because of the lighting. There is also a silver chrome effect in some lighting! The powder comes with 2 eyeshadow applicators in a little silver, resealable package. On their website I learned that there is actual silver in the product! MItty's Magical Fairy Dust holo pigment powder is available here on their website, and here on Snail Vinyl's Shop. Alright, now it's time to share what I've learned. What I though: Powders apply over no-wipe gel What I learned: Not always as easily For some reason, I couldn't get the holo powder to go onto my no-wipe top coat. I have the following products that are no-wipe formula:
I tried using a silicone tool to rub it on instead. NO I tried using my finger. NO I tried using the FP 1-step gel polish I mention above. NO After a few tries, I realized it somehow felt like the gel polish was too dry underneath for the powder, and hence, not making it a good sticking medium. I thought "what if I don't cure it all the way?" So then I tried everything above again, but this time, only curing the polishes half of the recommended time. STILL NO!!! Oh my... what was I doing wrong?!?! I don't know. I had the products in front of me, but I couldn't seem to make it work! I took a breather... Then, I decided to just cure the polish for 10 seconds instead. BINGO!!! It worked, it so totally worked! And it was amazing! I used my Gelish 18g LED curing lamp, and used the 5 second setting twice for the cure. The holo powder went on like magic! Here are the steps I did to achieve this look:
Here's what I want you to take from this, in case you are having a difficult time with powders.
Well, did you learn anything? Are you a little more confident about starting your gel polish + pigment powder journey? I hope you are, and I really love how this looks. Thanks for reading! <3 Mely
0 Comments
Leave a Reply. |