The Nail Art Guild's "Time and Space" ManiThe majority of this mani was done very quickly =). I decided to take photos in between some of the steps to share with you. This is not a tutorial, but more like, behind the scenes with tid bits of information :). Firstly I'd like to share my photo of inspiration: 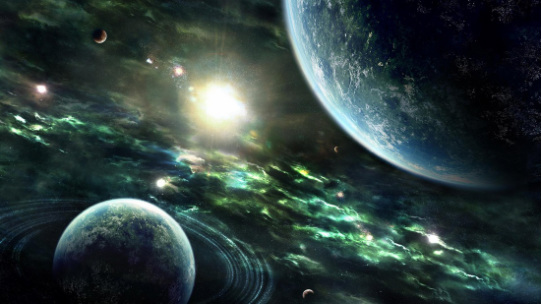
(source: http://wonderfulengineering.com/download-largest-collection-of-hd-space-wallpapers-for-free/) Supplies:
I started with a navy blue base with one of my favorite polishes, L'OREAL's After Hours 550 as my base. I watered down my white acrylic paint, and used my detailer brush to draw an outline of where I'd like the planets to go. 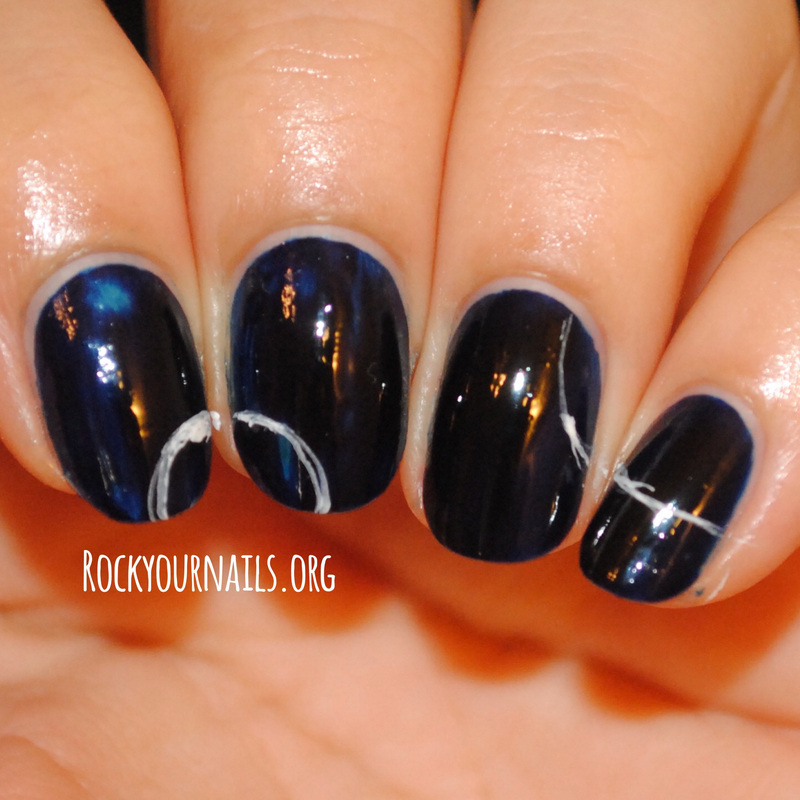
Next, with my brush and watered down acrylic paint, I randomly added splotches as seen below, and a circle, that would turn into some light. The purpose for the splotching (in my mind at least) is to provide a base so the colors that will go on top stand out a bit more than they would if just sponged over navy blue 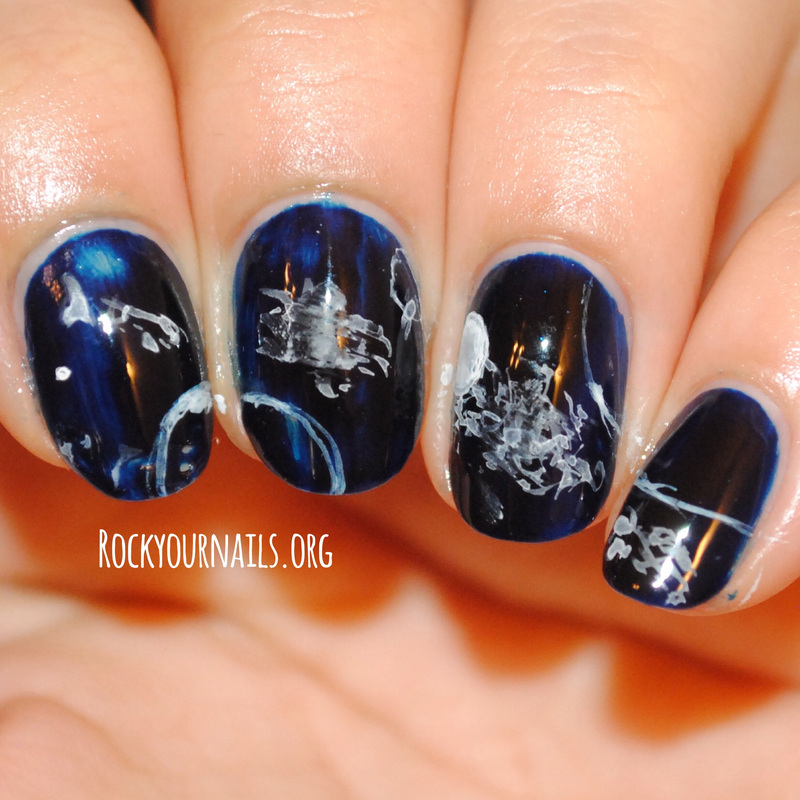
Then, I sponged on Sinful Colors, Endless Blue. This lighter blue cream polish will add some depth to the background. I also sponged on some of this color on my planet, to start building the 3-D effect. 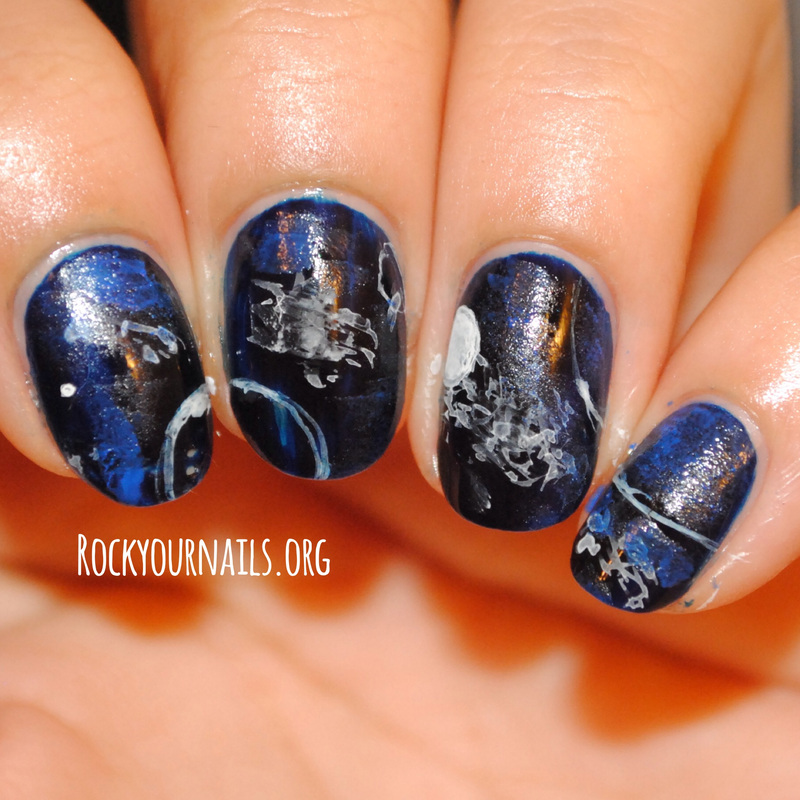
Next, I sponged on Bonita Colors Ride the Waves. This is a brighter blue with a hint of shimmer. 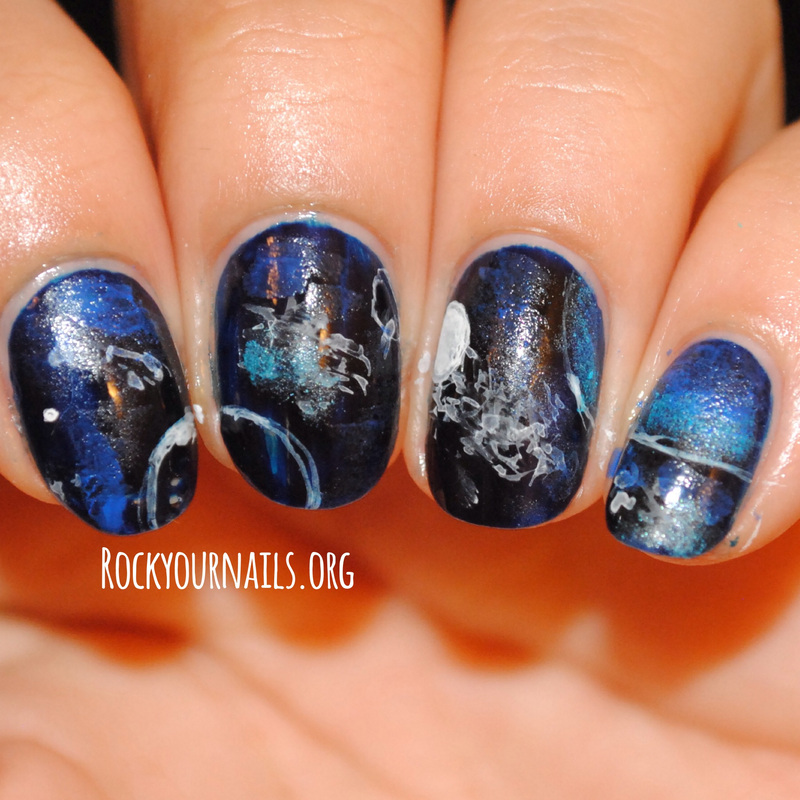
Next, I sponged on Zoya Tracie (a lime green with silver shimmer), and Zoya Zuza (a teal green with silver shimmer) 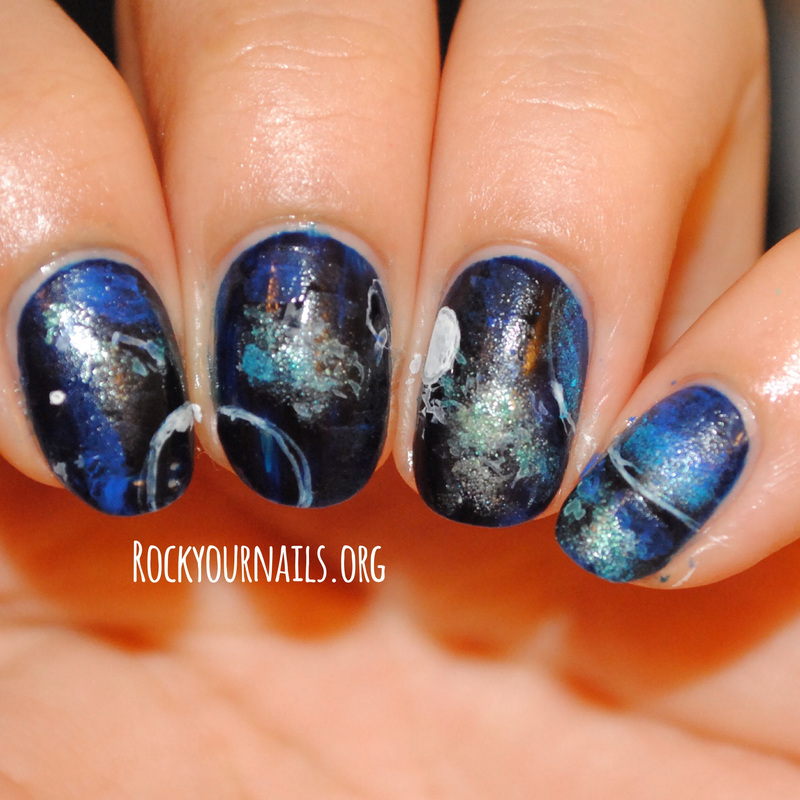
Next I sponged on Cupcake Polish Biggest Luger. This is a lilac subtle holo polish with magenta shimmer 
Next, I mixed China Glaze In The Lime Light (a neon green) with some polish thinner, and used my brush to add some highlighting. 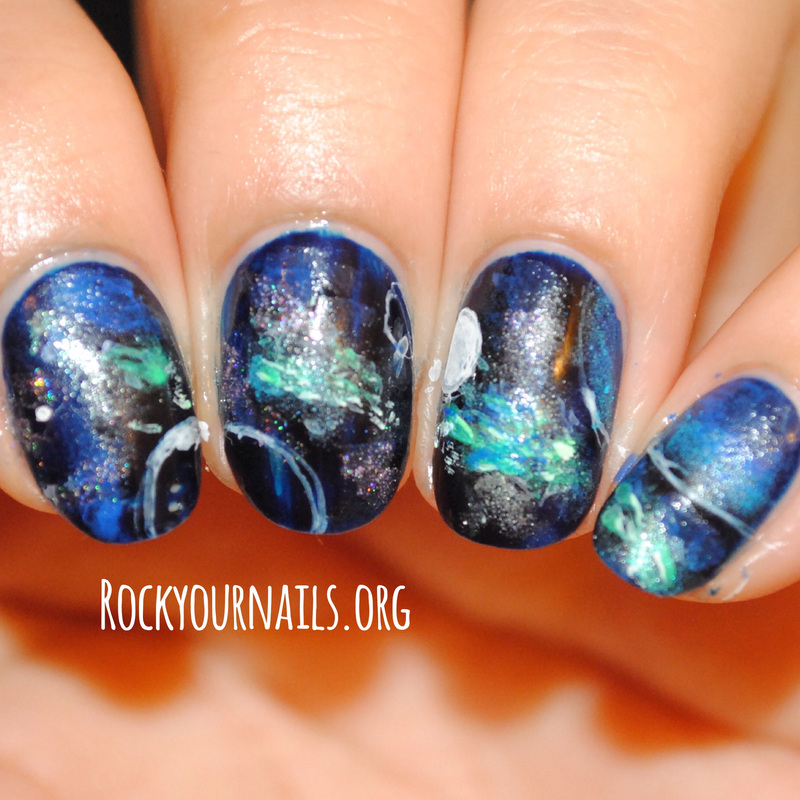
Next I sponged on Stardust Polish Spectraflair 35 top coat (holo top coat), and Sinful Colors Nail Junkie 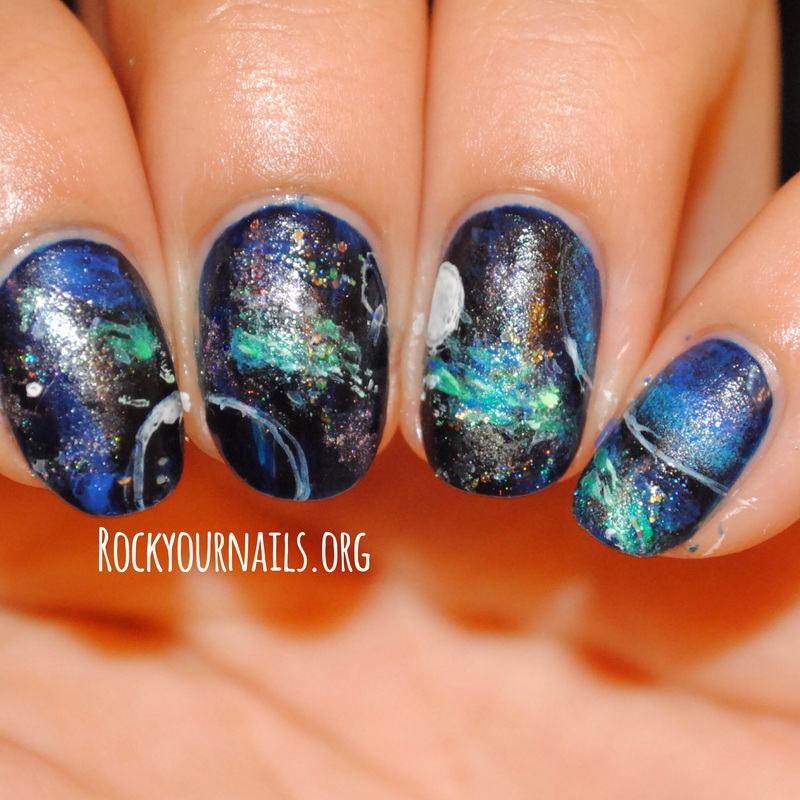
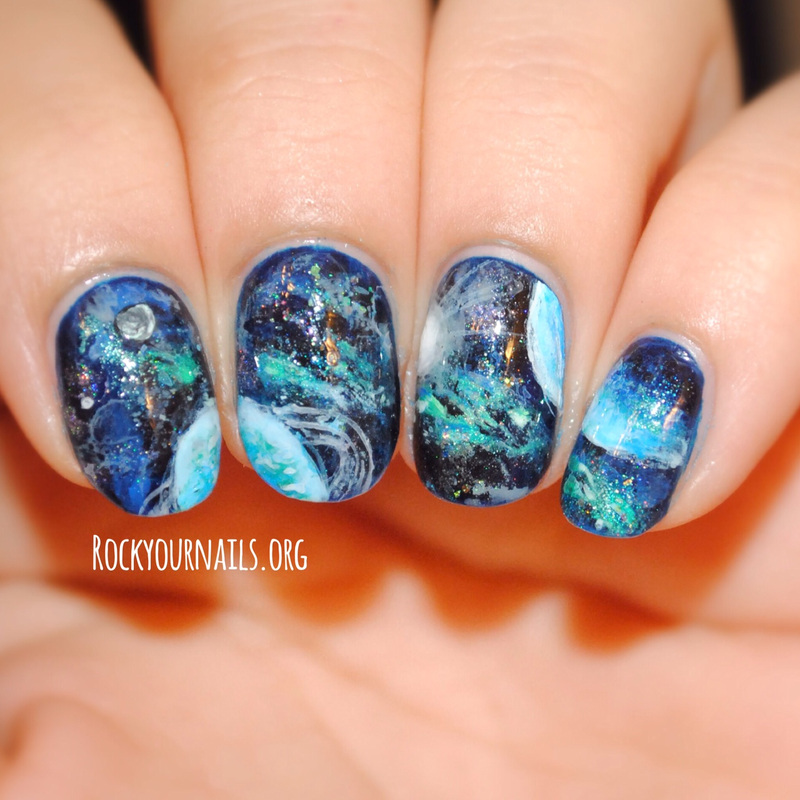
Finally, for the planets and the ball of light, I just shaded using my acrylic paints, until it looked 3-dimensional, adding little clouds with white acrylic paint and other details. Also, to clean-up excess polish on my nails, I used acetone and my clean-up brush, and used small horizontal strokes on some areas to take away what I though was excess polish. There's no guide really to that, you just want to balance it out until YOU feel you're happy with the results!! :) 
What's great about galaxy or space nails, is that there is an infinite number of things you can create! Have fun with it and mix it up to the colors that you like! Hope this was a bit helpful! Please let me know if I inspire you! Follow my Instagram @rockyournails and tag me and tag #irockedmynails so I can see!
Have a great weekend everyone! To see a previous galaxy mani of min click here.
1 Comment
Clarita
11/21/2014 05:10:17 am
This is truly incredible. I'm going to try my best to re-create it. Leave a Reply. |